Making Paczki for Fat Tuesday
/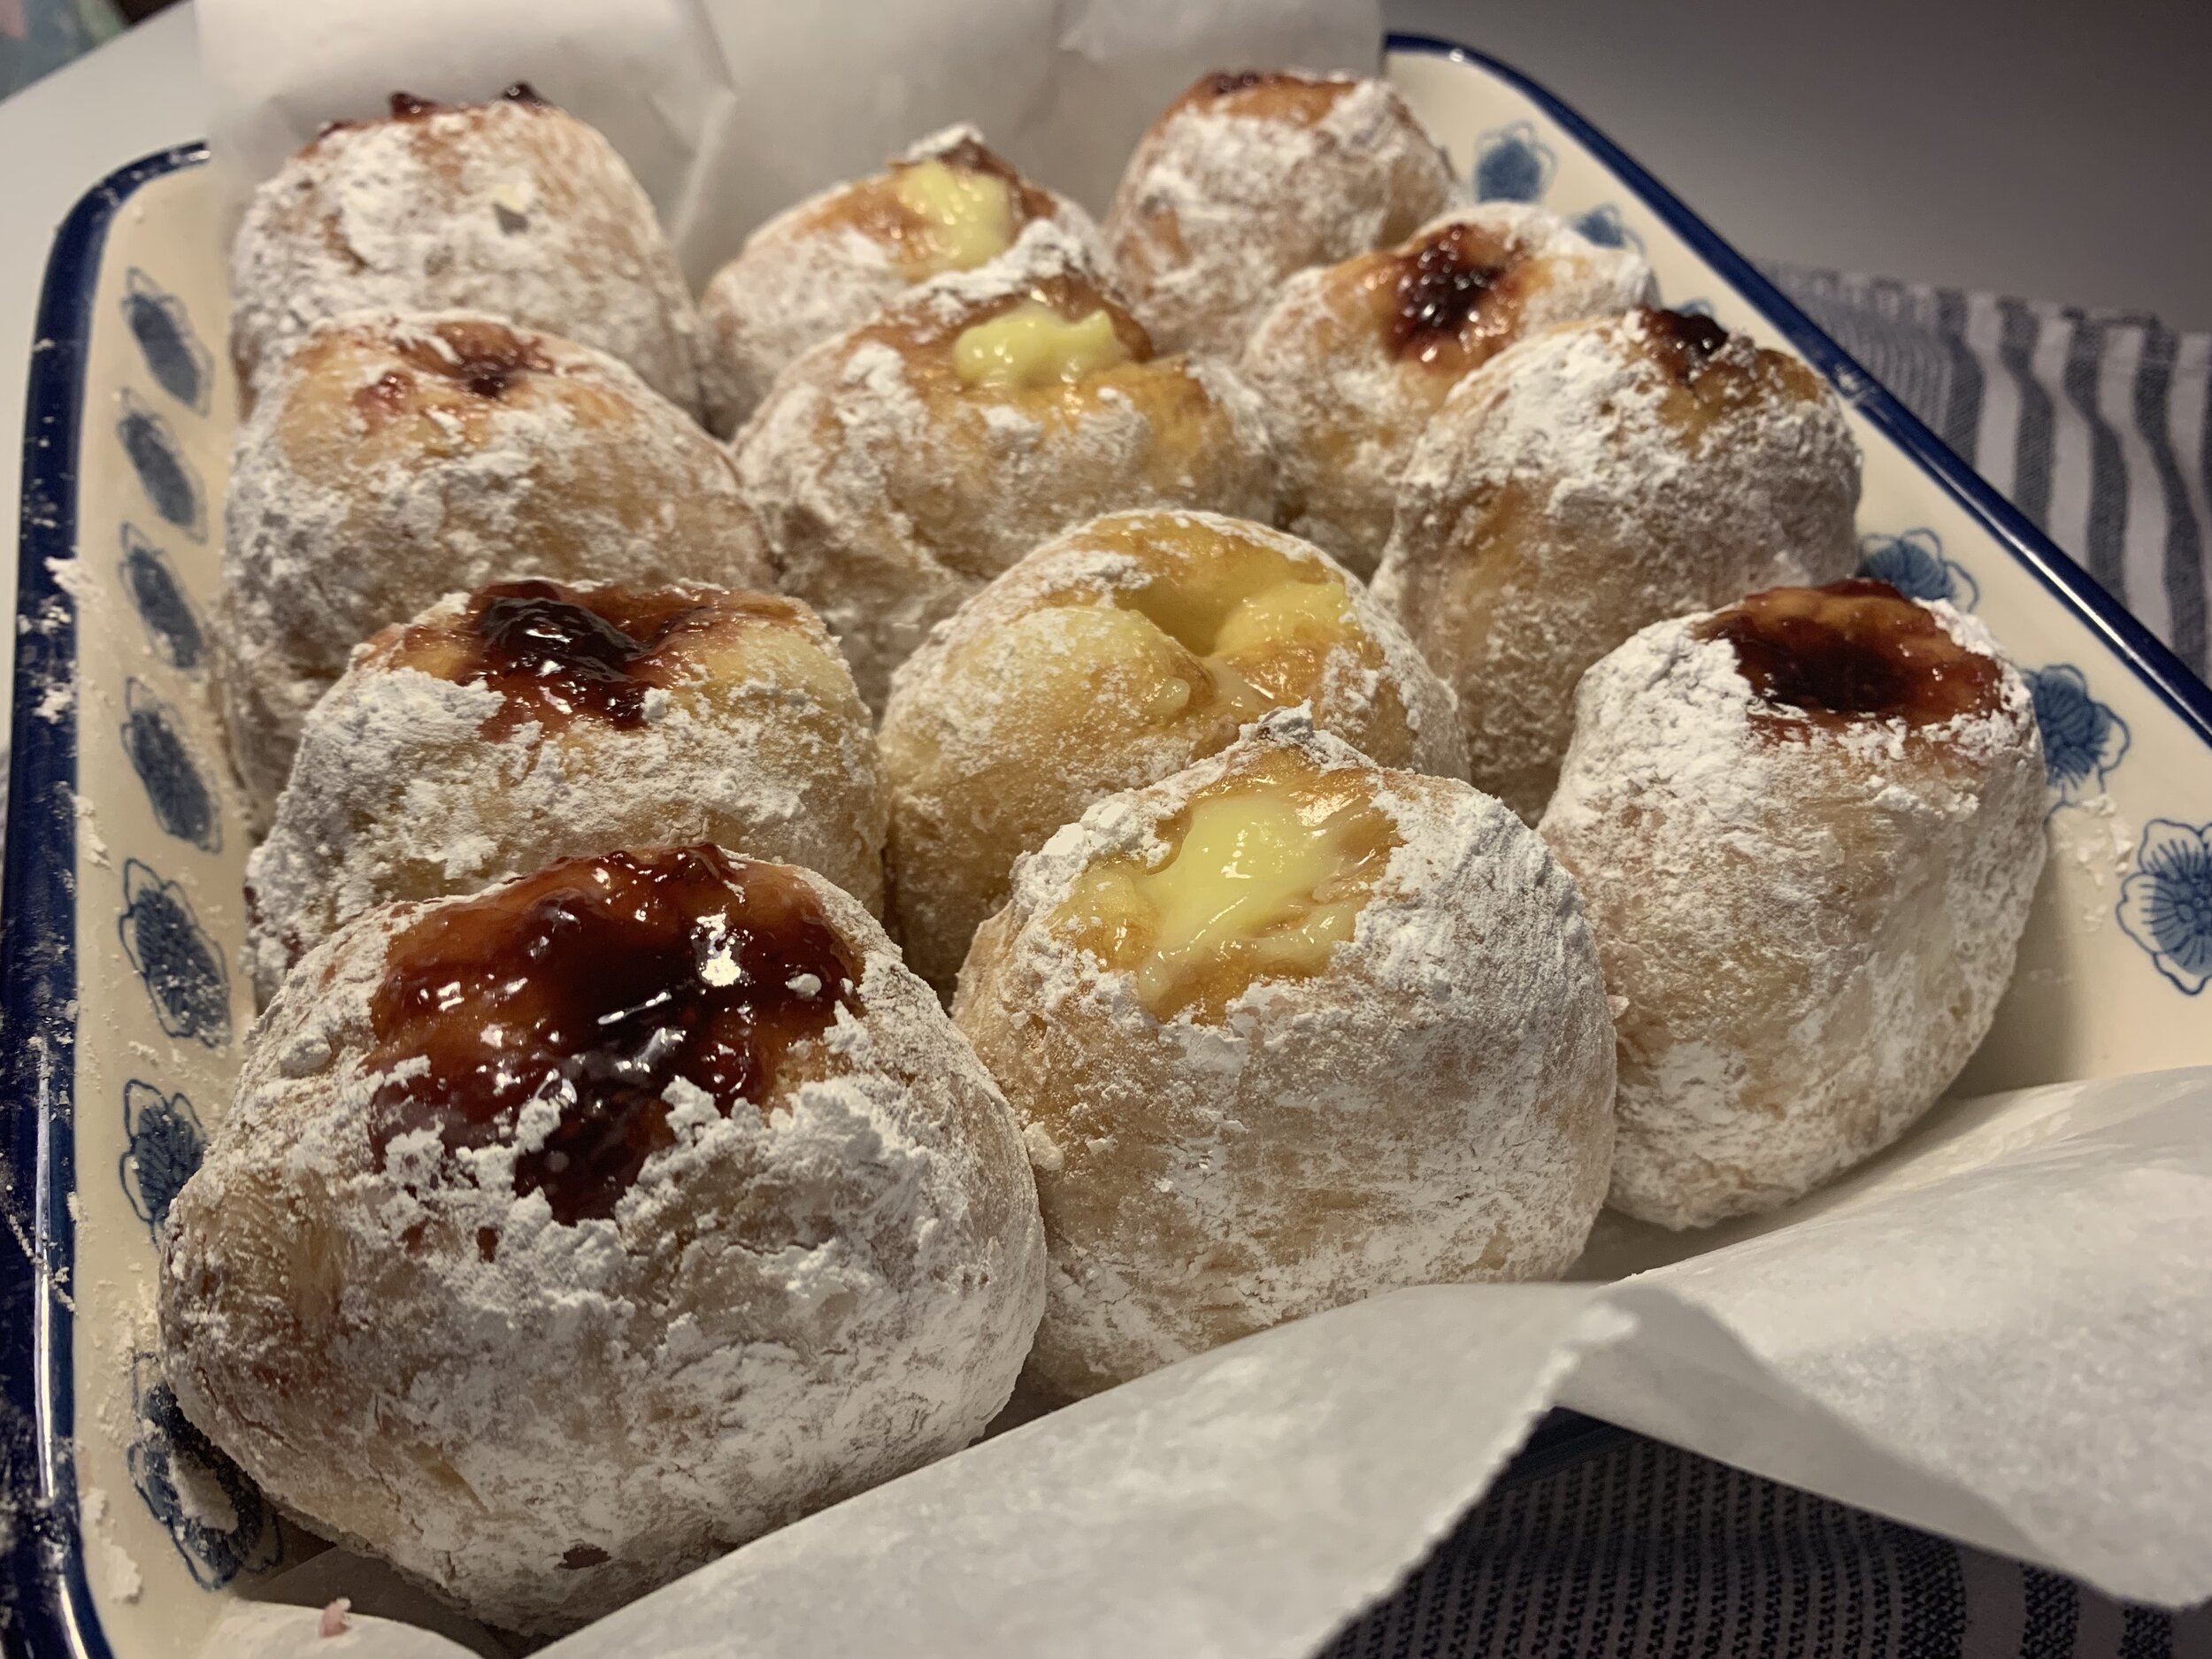
Raspberry preserves, Lemon Curd, and Vanilla Custard filled Paczki
Last year we started a new family tradition—making Paczki for Fat Tuesday! For those of you unfamiliar with this tradition, historically, Polish Catholics, the day or week before Lent begins, indulge in these rich donuts made with a sweet egg & milk dough and filled with custard and jam. Happily, this has become an American tradition throughout the US. Though while I grew up in Cleveland, Ohio which has a very large Polish population, I don’t recall eating Paczki before I moved to Michigan (but Brock tells me otherwise). For history buffs, here’s a little background via Michigan.org.
Our local grocery stores start selling them weeks before Lent. They’re fine, but I knew that homemade would be a fun project and more authentic than what we can find in our small town. After scouring the internet for a good recipe, I landed on this one from Serious Eats. I appreciate that they recreated donuts from the US Paczki capital, Hamtramck, MI, where Fat Tuesday is called “Paczki Day” and local Polish bakeries have lines out the door selling these sweet, dense filled donuts.
Below is an adaptation of the Serious Eats recipe. Having never made donuts before, I worried that it would be complicated. And what I found it that the process is more time consuming than complicated because there are three different rise times (for the yeast starter, for the dough, and then for the donuts before you fry them). This is a great team or family project. It’s nice to have someone frying, rolling in powdered sugar and filling the paczki. Bottom line—it’s definitely takes some time, but, they are so worth it! Store bought can’t compare with homemade. Note: I do think they are best eaten within 48 hours, and are truly amazing the first day.
We filled the Paczki with three different types of filling. My homemade raspberry preserves, a basic custard filling (I went with a pretty simple custard made from cornstarch. It’s good and not nearly as time consuming as making custard from egg yolks), and a lemon curd that I had on hand from Trader Joe’s. I have also made my own lemon custard and lemon preserves which is great if you have the time.
Paczki Dough Recipe (adapted from Serious Eats)
Ingredients:
2 cups whole milk (pretty sure I only had 2% so I substituted a 1/2 c. of half/half)
4 1/2 teaspoons instant yeast (2 standard sized envelopes)
1/2 cup plus 1 tablespoon sugar
5 cups all purpose flour
4 egg yolks plus one whole egg
1 teaspoon salt
1 teaspoon vanilla extract
1/4 cup unsalted butter, melted
2 quarts canola oil for frying
1 1/2 cups favorite custard or preserves (I used a mix of raspberry preserves, vanilla custard, and lemon curd)
1 cup powdered sugar for dusting
Step 1:
Heat 2 c. whole milk to 110-115 degree and dissolve yeast in milk
Add 1 TBSP Sugar & 2 Cups of Flour
Mix until consistency of pancake batter
Cover and let rise in a warm spot (30 minutes or so)
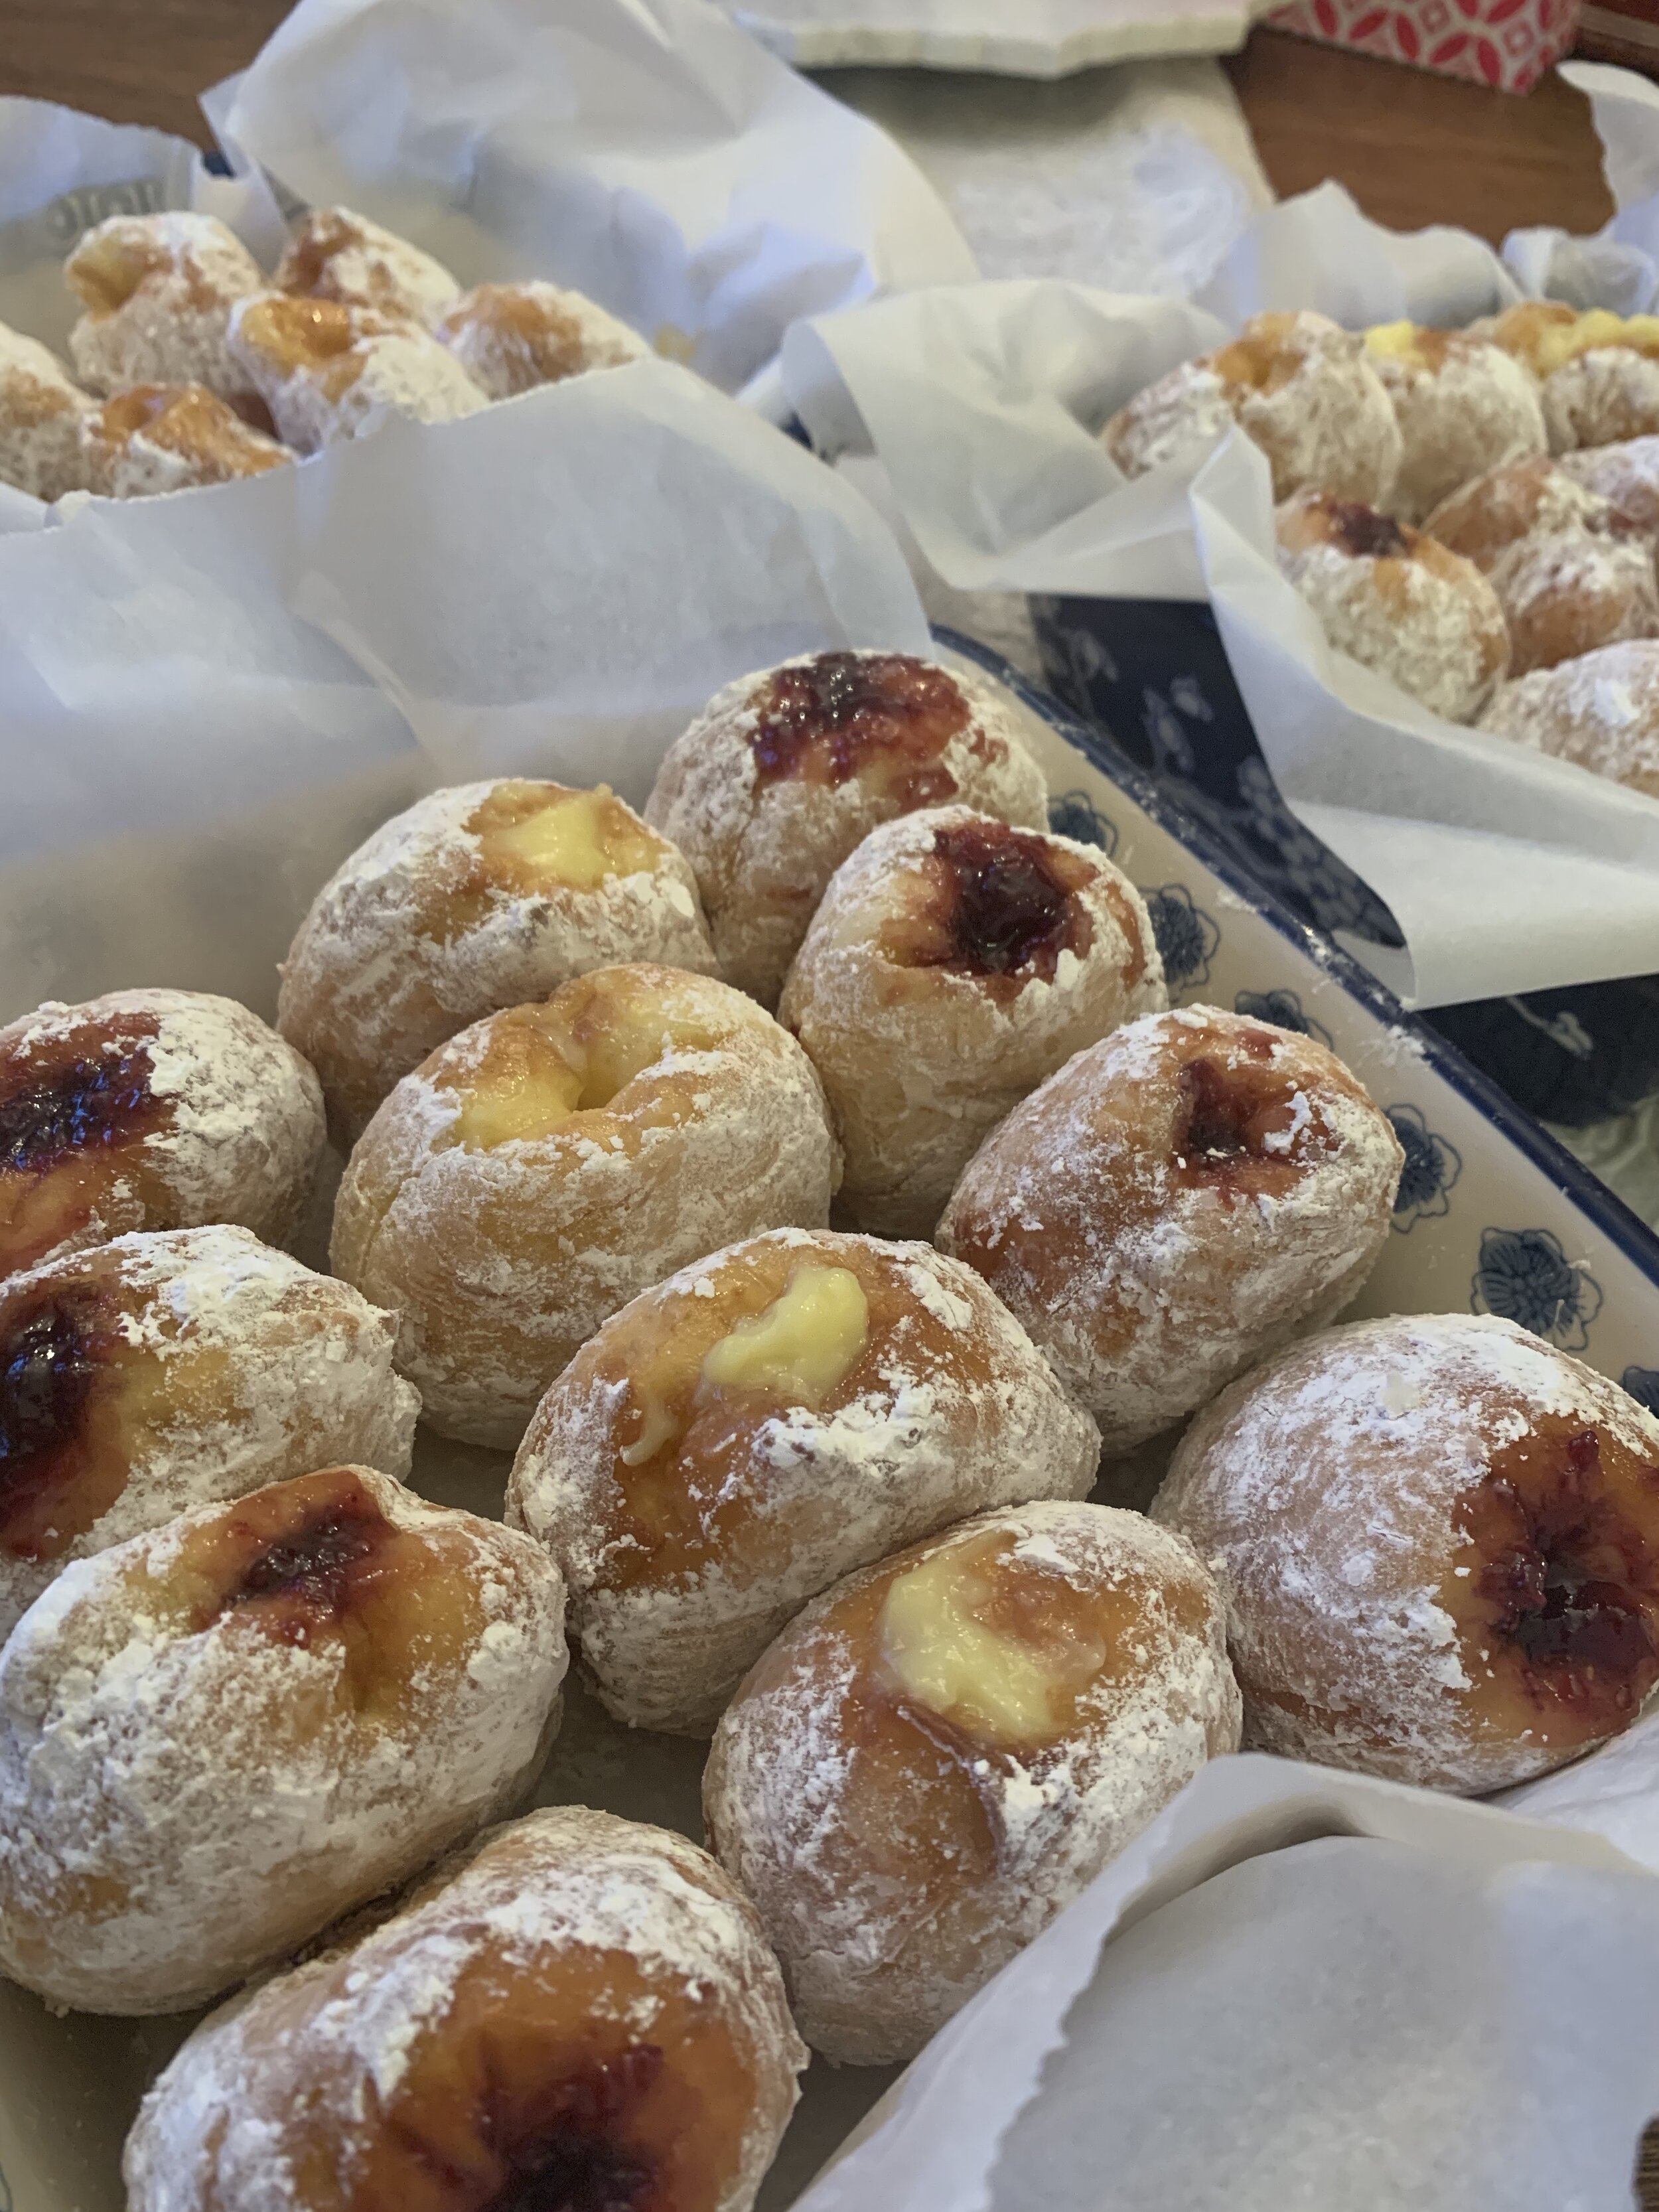
Raspberry, Lemon Curd, and Custard filled Paczki
Step 2:
Combine egg and yolks in a medium bowl
Whisk until light and frothy (about 4 minutes)
Whisk in 1/2 c of sugar, 1 tsp salt, 1 tsp vanilla
Step 3:
Slowly stir cooled melted butter (1/4 c) into yeast starter
Slowly add egg mixture until just combined
Fit mixer with dough hook
Stir in flour, 1/2 cup at a time until a soft dough comes together.
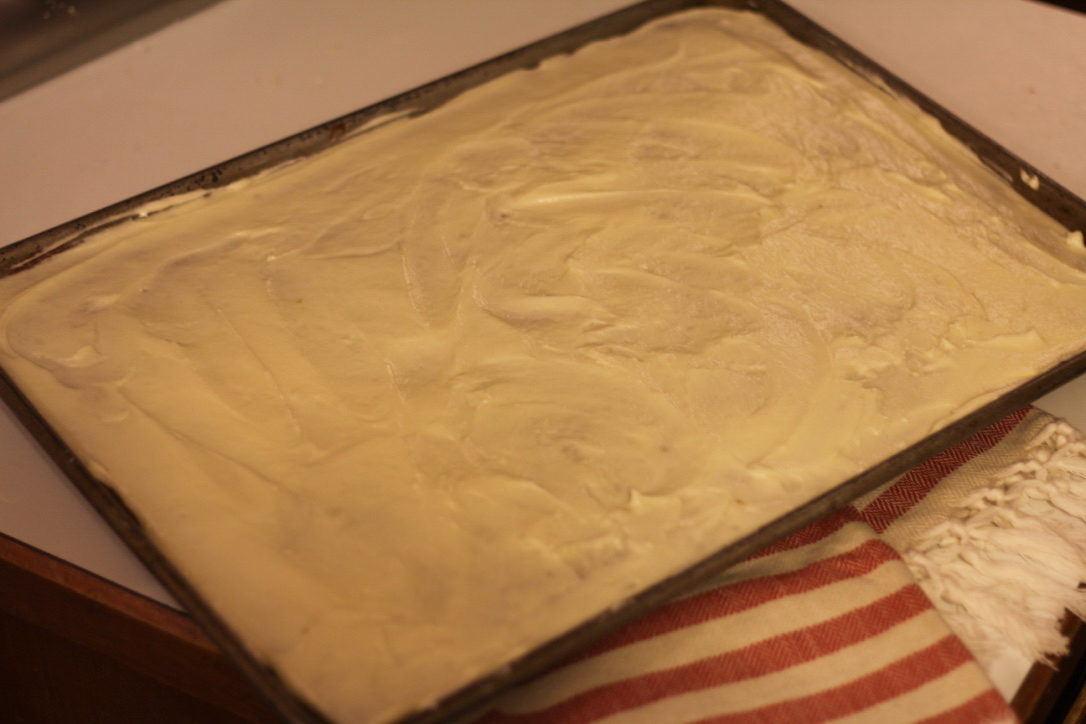
Dough will be very sticky!
Transfer to an oiled bowl, cover with plastic wrap and let rise for 1 hr.
Step 4:
Turn out dough onto a floured surface
Dust surface of dough with flour & punch dough to about 1/2”
Cut out doughnuts with 2 or 3” biscuit cutter
Transfer rounds to parchment lined baking sheets
Cover with a clean towel and let rise to double in size (about 30 minutes)
Step 5.
Pour 2 quarts of canola into a dutch oven
Heat oil to 360 degrees (I use a candy thermometer
Carefully drop doughnuts in 1 at a time (approximately 3-4 at a time)
Cook until one side is golden brown and flip (*Note that they continue to brown a bit as they cool)
Remove from oil and cool on a wire rack
Step 6.
Toss cooled doughnuts in a shallow bowl filed with powdered sugar
Fill your pastry with your favorite preserves
I suggest eating the first day—you can store for a few days them but they taste best within 48 hrs.
Finally, I there is video of me making the Paczki saved to my Insta stories highlight reel. And I would love to hear if you have any Fat Tuesday traditions. Please share!