Celebrating Christmas with the Family & Tree Classics
/
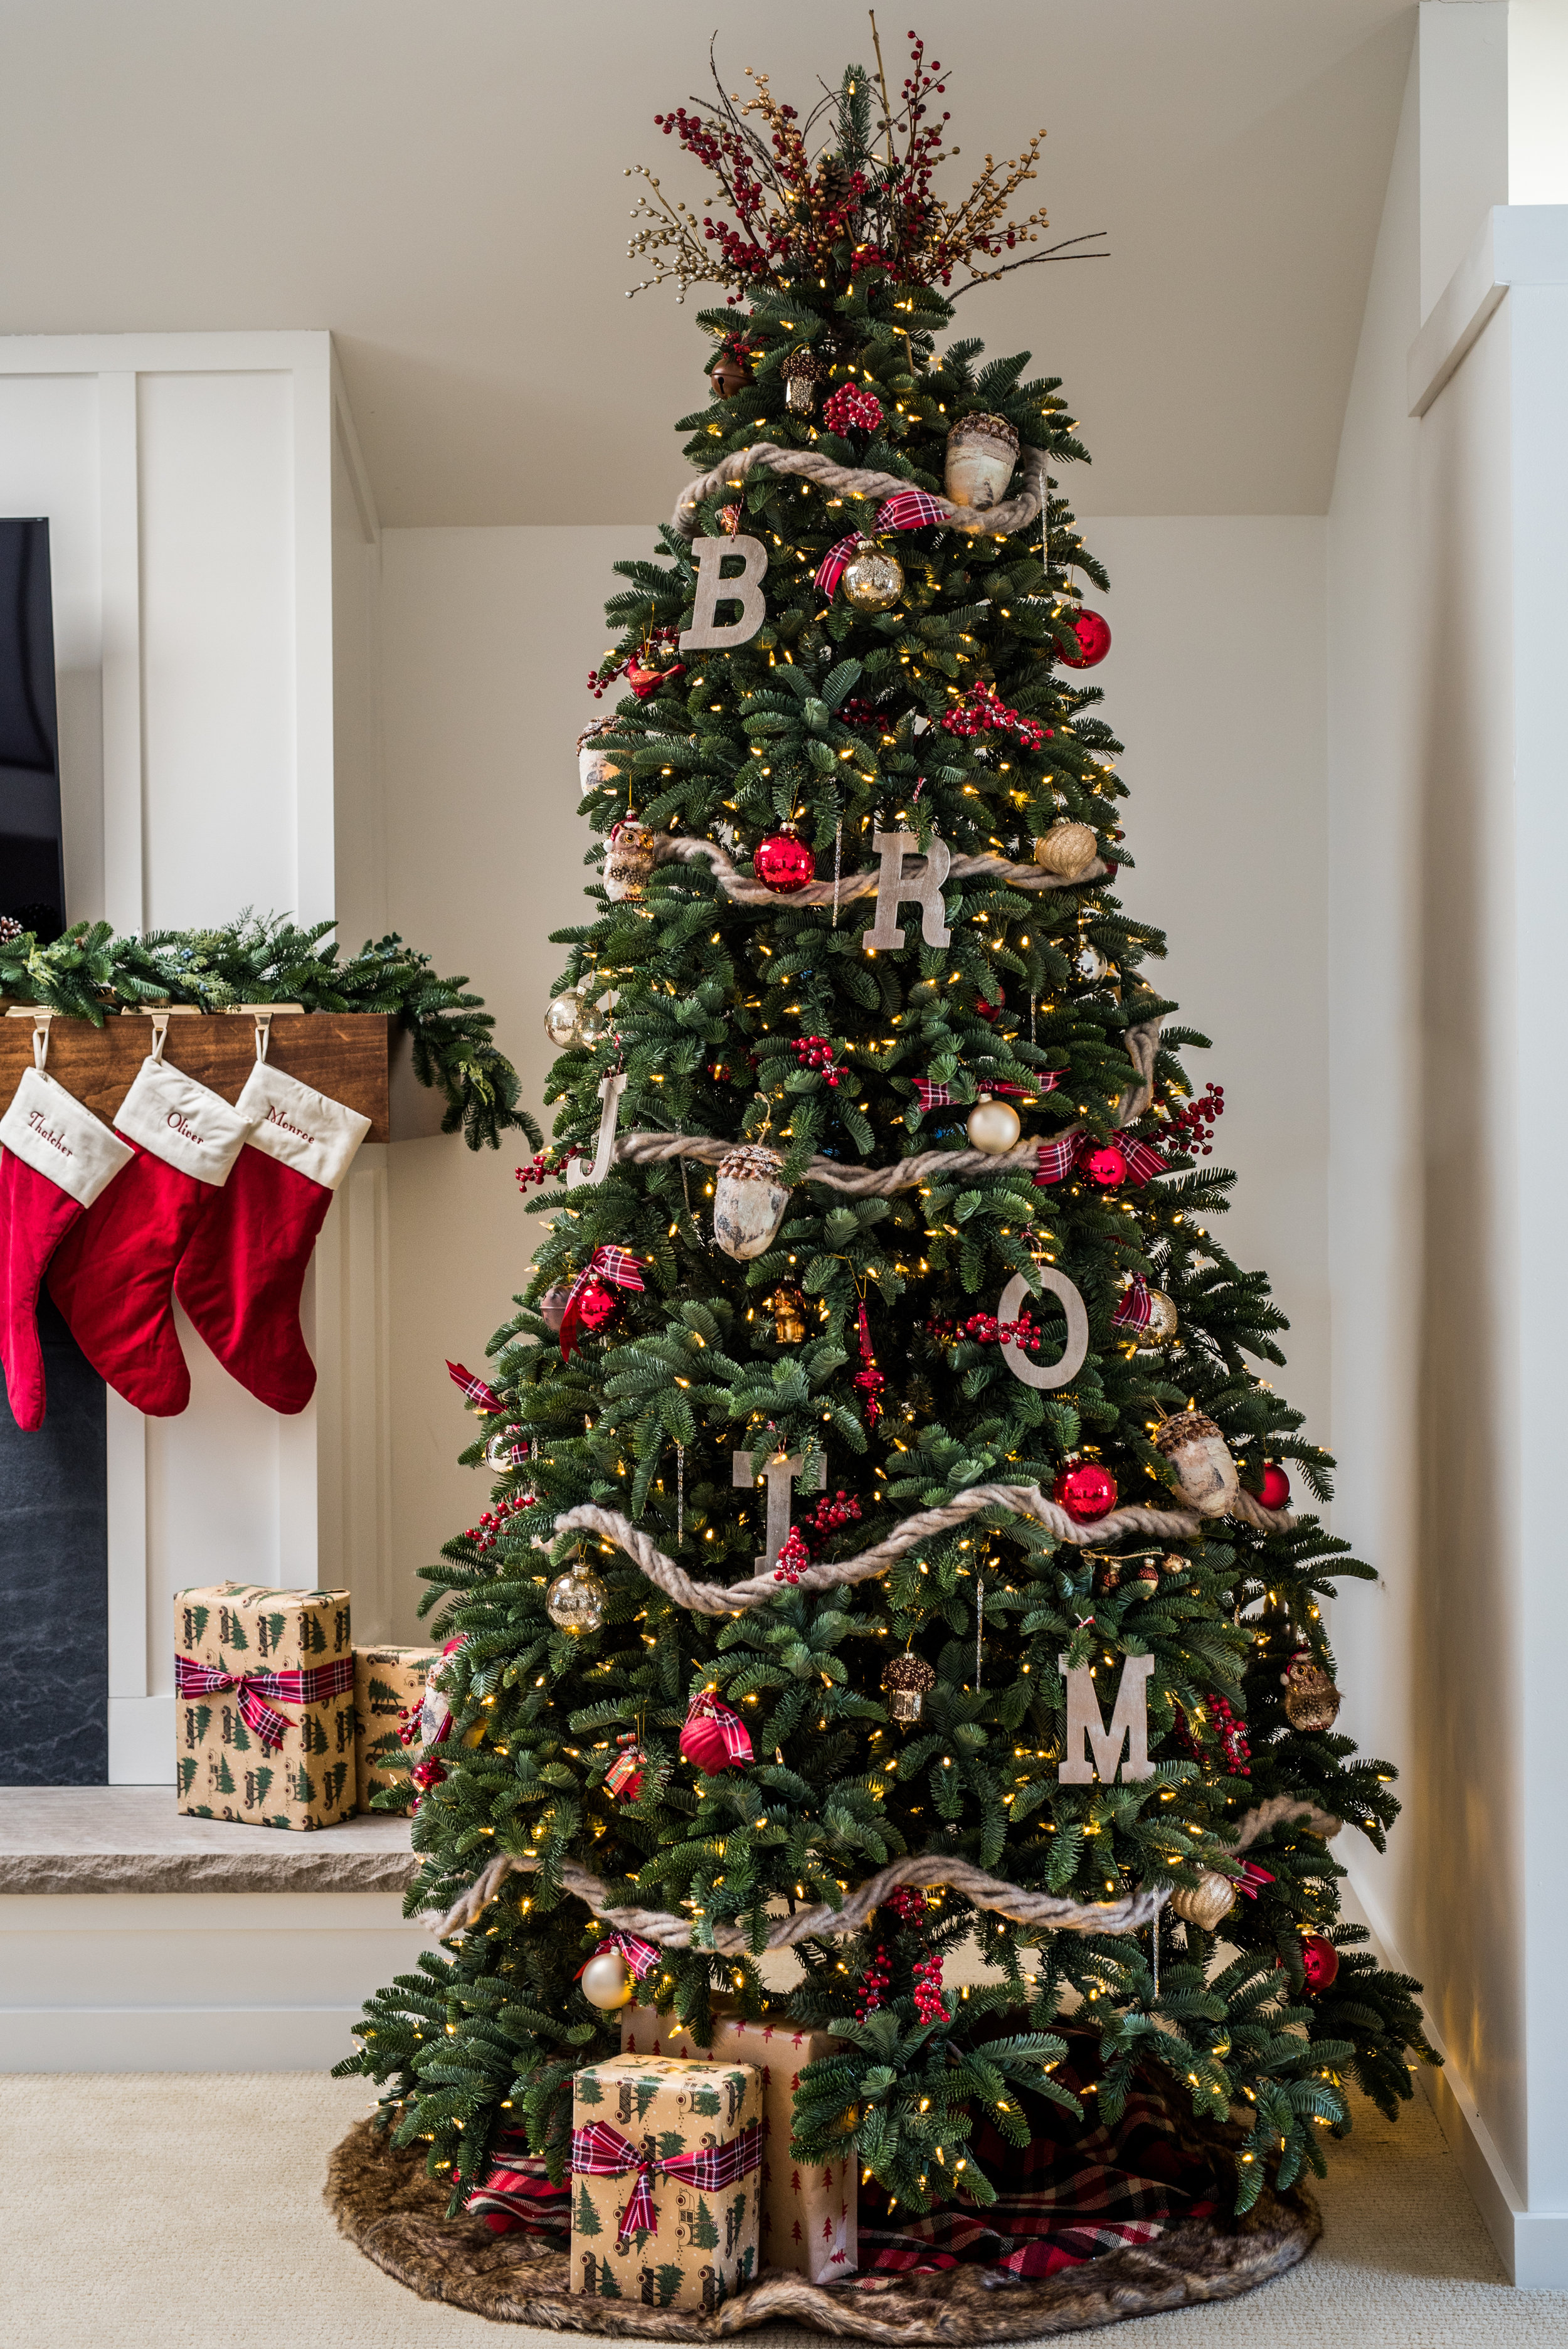
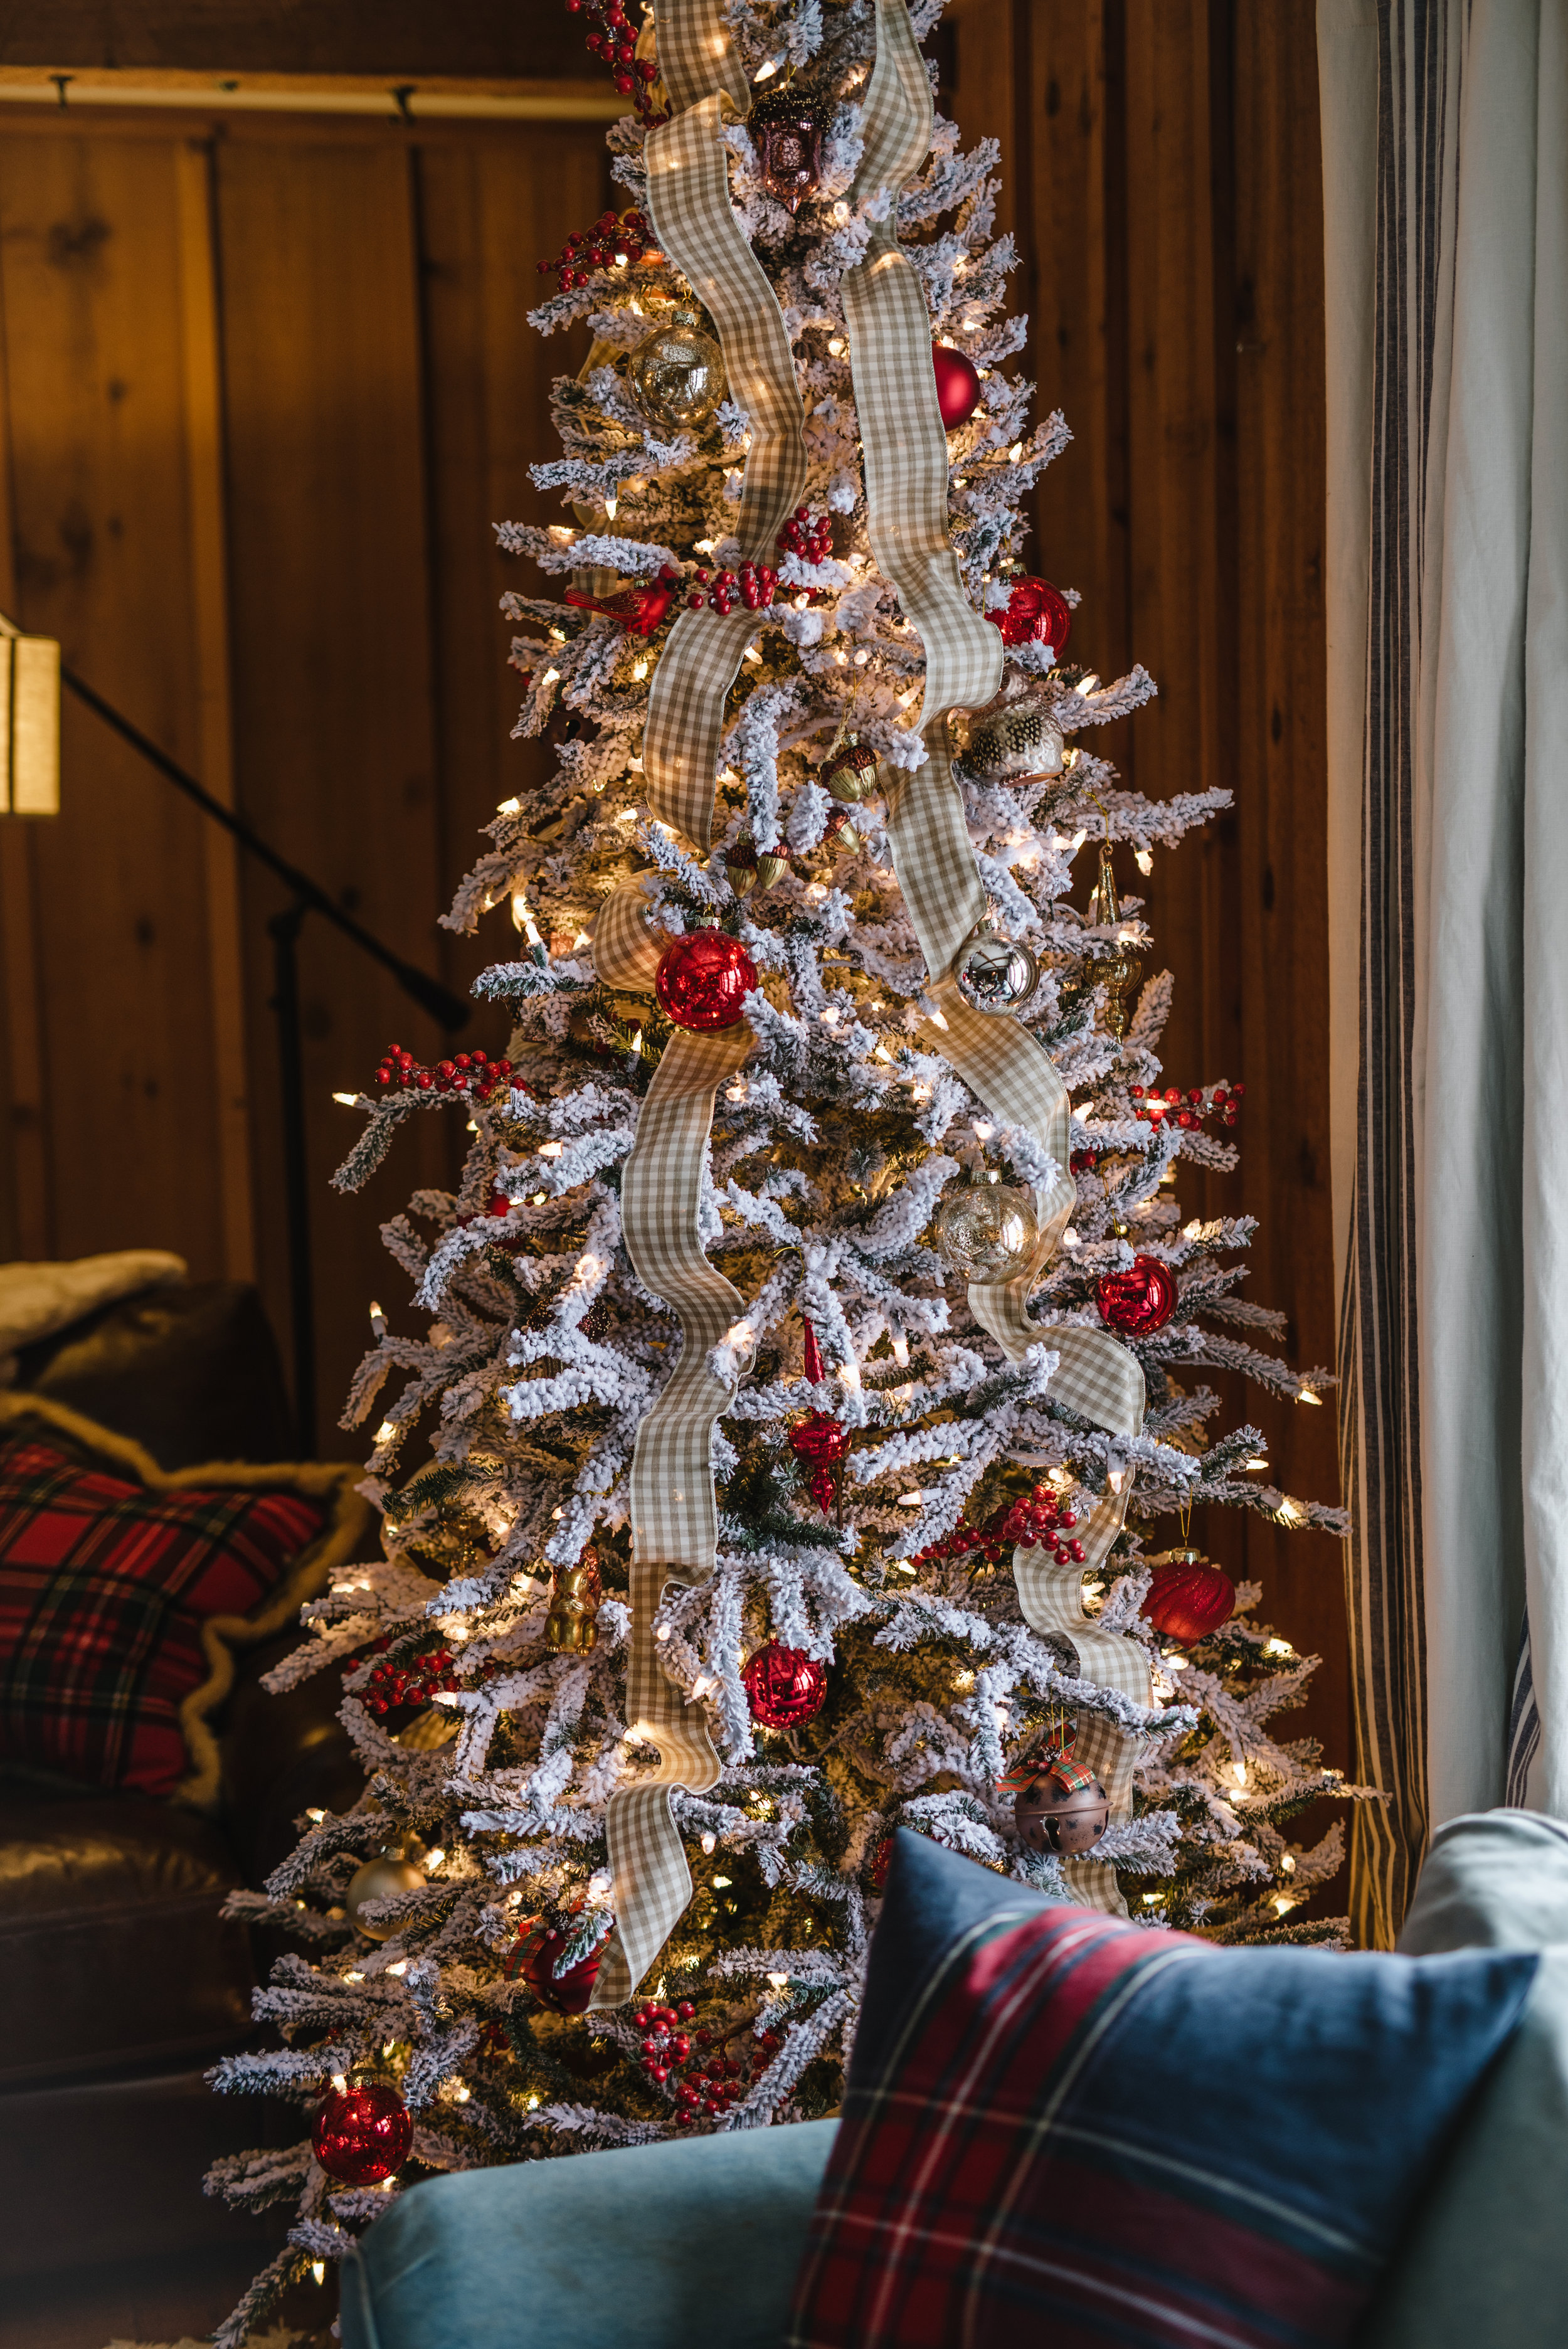
Jessie’s living room decked with Tree Classics 7.5ft. Kennedy Fir Narrow Artificial Christmas Tree with Quickset LED Clear lights, Wreath & Garland, Tree Skirt, Silver Berry Holiday Picks, and Silver & Gold Ornament Collection
One of the joys of working with Tree Classics is their commitment to celebrating holiday and family. And gratefully, I get the opportunity to enter other people’s lives and spread a bit of Christmas cheer. This year I asked Tree Classics if we could decorate the house of a friend of ours, Jess, for the Christmas with the Family campaign. Recently diagnosed with breast cancer, she undergoes surgery in December. With a husband and two little guys at home, I knew it would be a small comfort & joy to have the house prepared beforehand.
She picked the pre-lit Kennedy fir with Quickset LED Clear lights (one of my favorites!), and the accompanying wreath & garland. After seeing a few of her holiday inspiration pictures, I chose the Tree Classics, Shimmering Snow Faux Fur Tree Skirt, Festive Holiday Picks in silver and two ornament sets from the silver and gold ornament collection.

Decorating Jess’s house was definitely a team effort from start to finish. Rachel and I had about 4 hours to get the tree, garland, and wreath set up and all the decor in place. Many hands certainly do make for light work, and between me, Rachel, Jess and her friend, Jill, we decked the halls in record time.
So much of decorating for the holidays (and in general) is arranging the things you love and adding layers. Jess already had some beautiful pieces, so Rachel and I quickly got to work setting up the greenery and adding touches of Christmas to Jess’s armoire, seating area, and front entry.
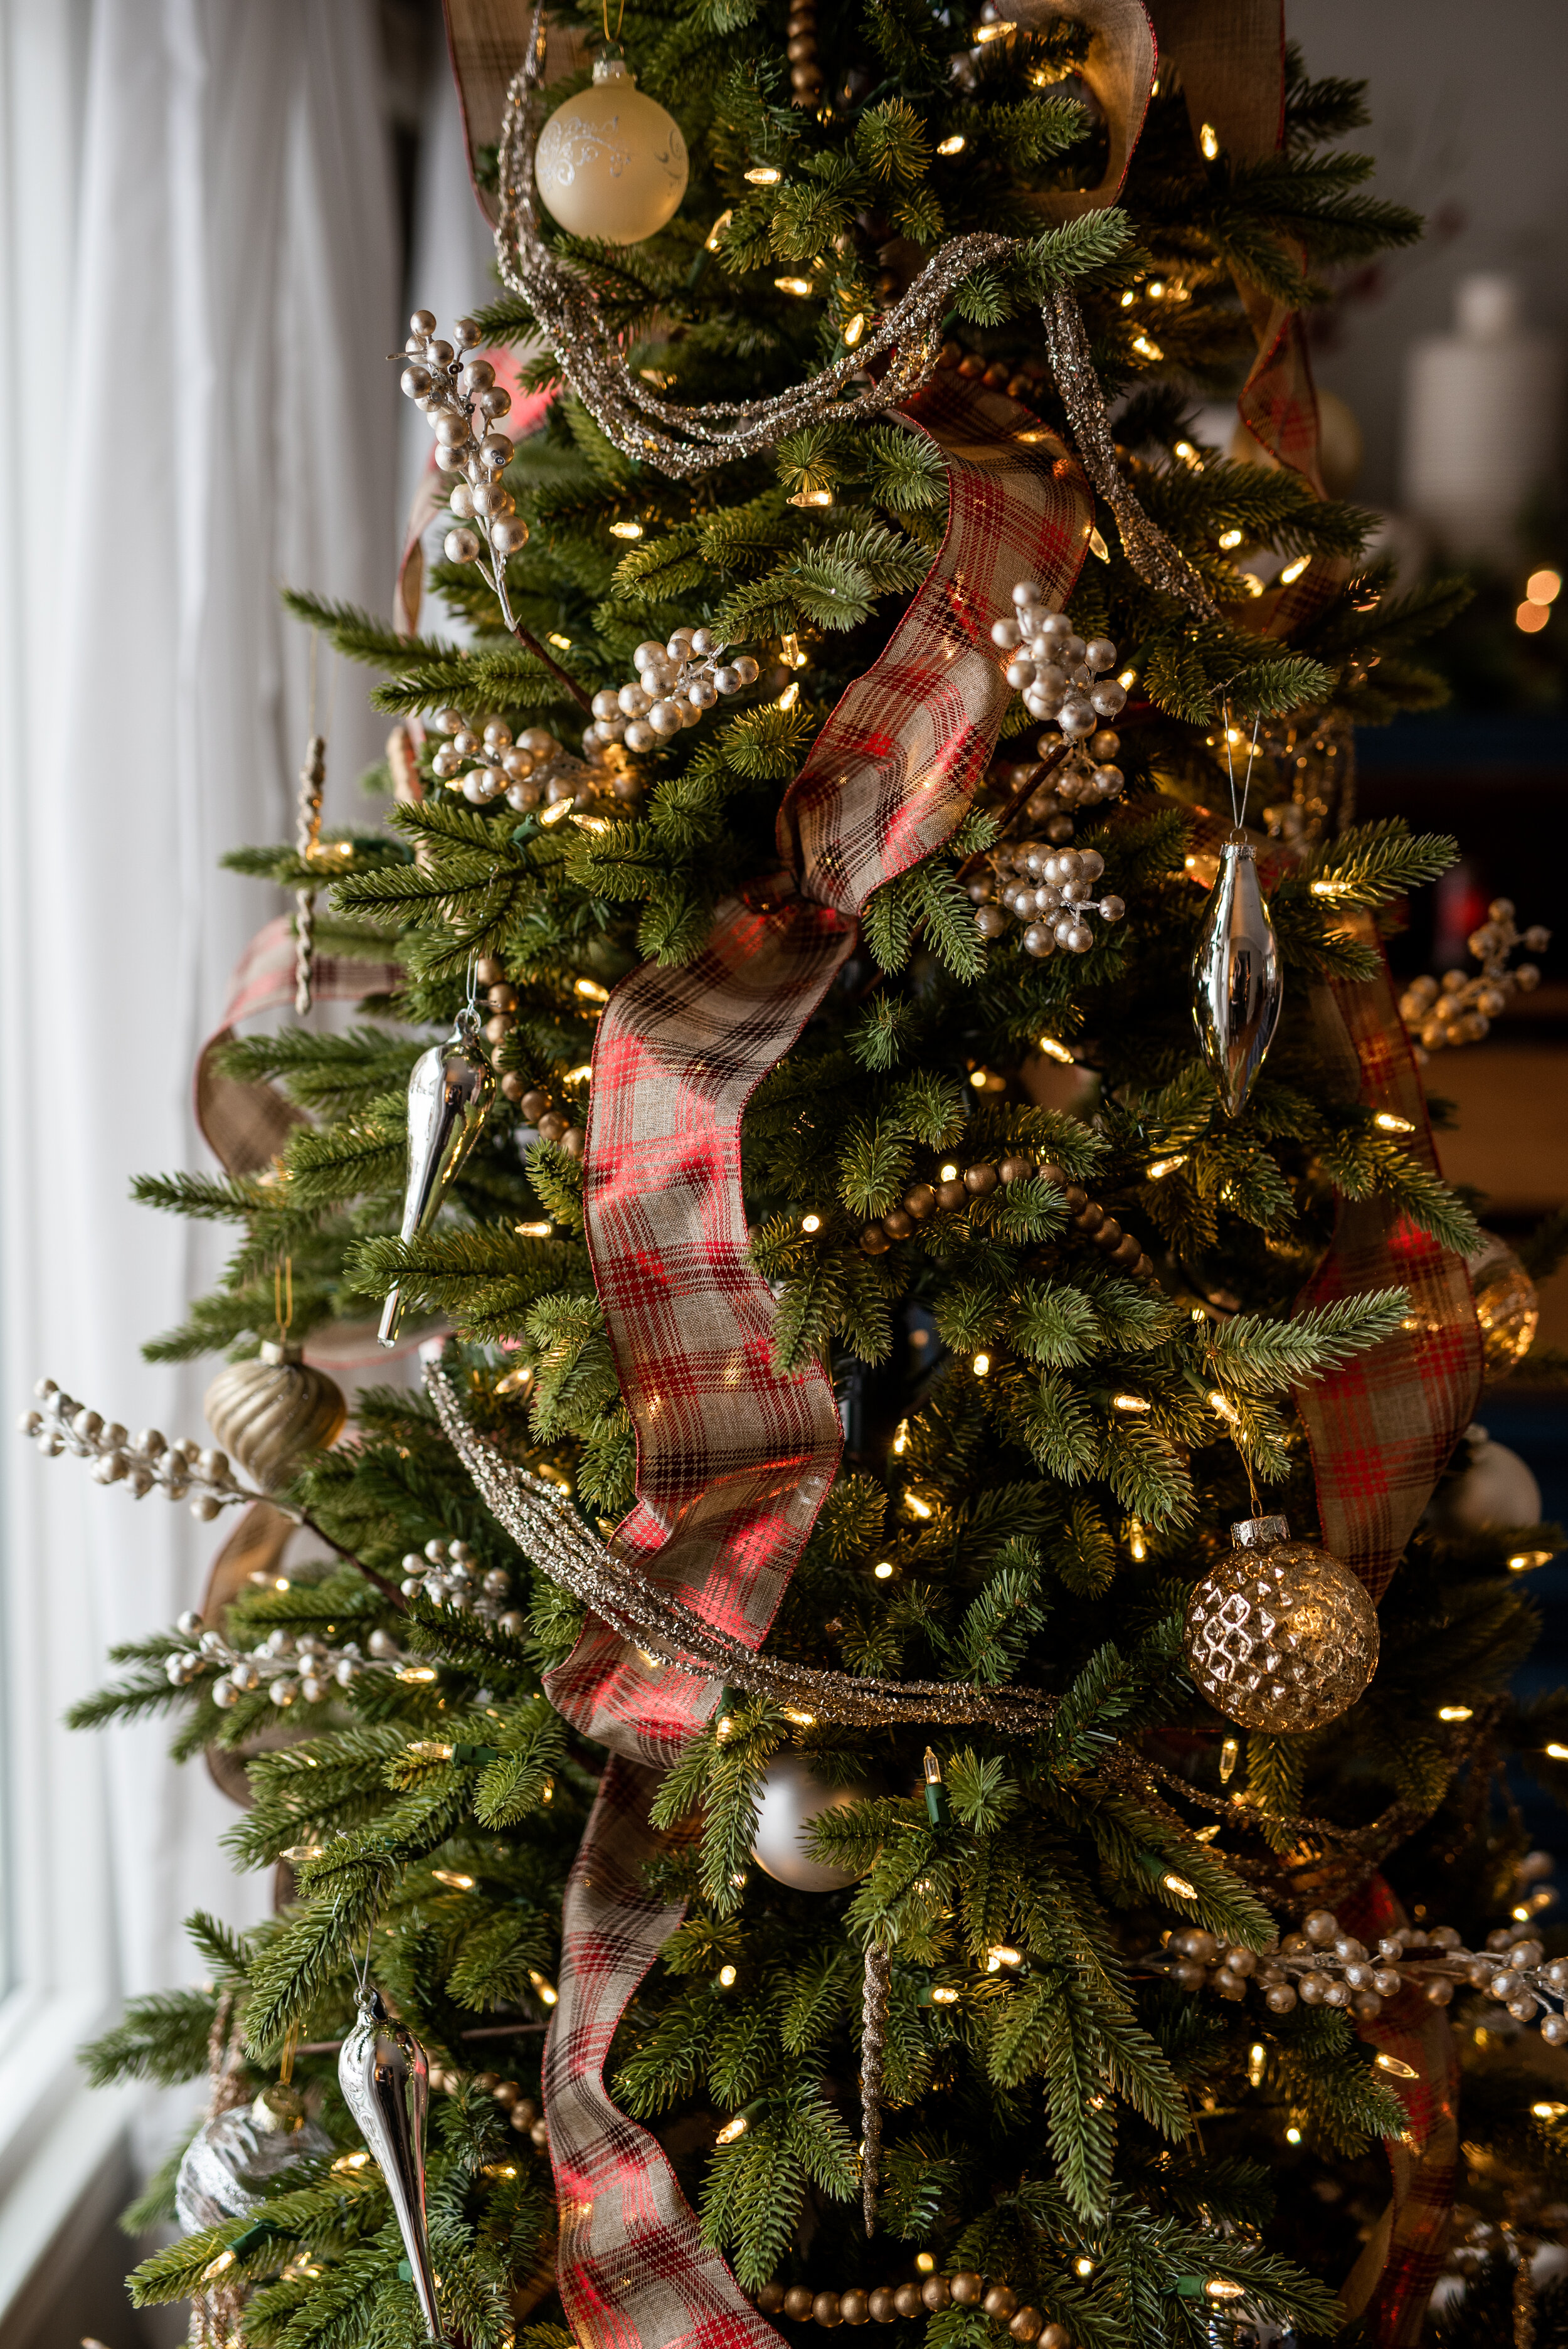
From Tree Classics, 7.5ft. Kennedy Fir Narrow Artificial Christmas Tree with Quickset LED Clear lights, Silver Berry Holiday Picks, and Silver & Gold Ornament Collection. Ribbon from Walmart, gold beads from World Market (past season), and gold beaded garland from local Hillsdale boutique, MaryBeth’s


From Tree Classics: 7.5ft. Kennedy Fir Narrow Artificial Christmas Tree with Quickset LED Clear lights,Tree Skirt, Silver Berry Holiday Picks, and Silver & Gold Ornament Collection, wrapping paper from Target’s 2019, sugar paper, collection.


Rachel and I pulled in a few soft touches & signage to create a welcoming entry. On the landing, we used a mirror as the base and added the 24” Kennedy fir wreath. Mirrors, layers, texture are a great combination. Wreath and garland from Tree Classics. Pillows on steps from Target, 2019 Holiday Collection. Knit Stockings, Target 2019.

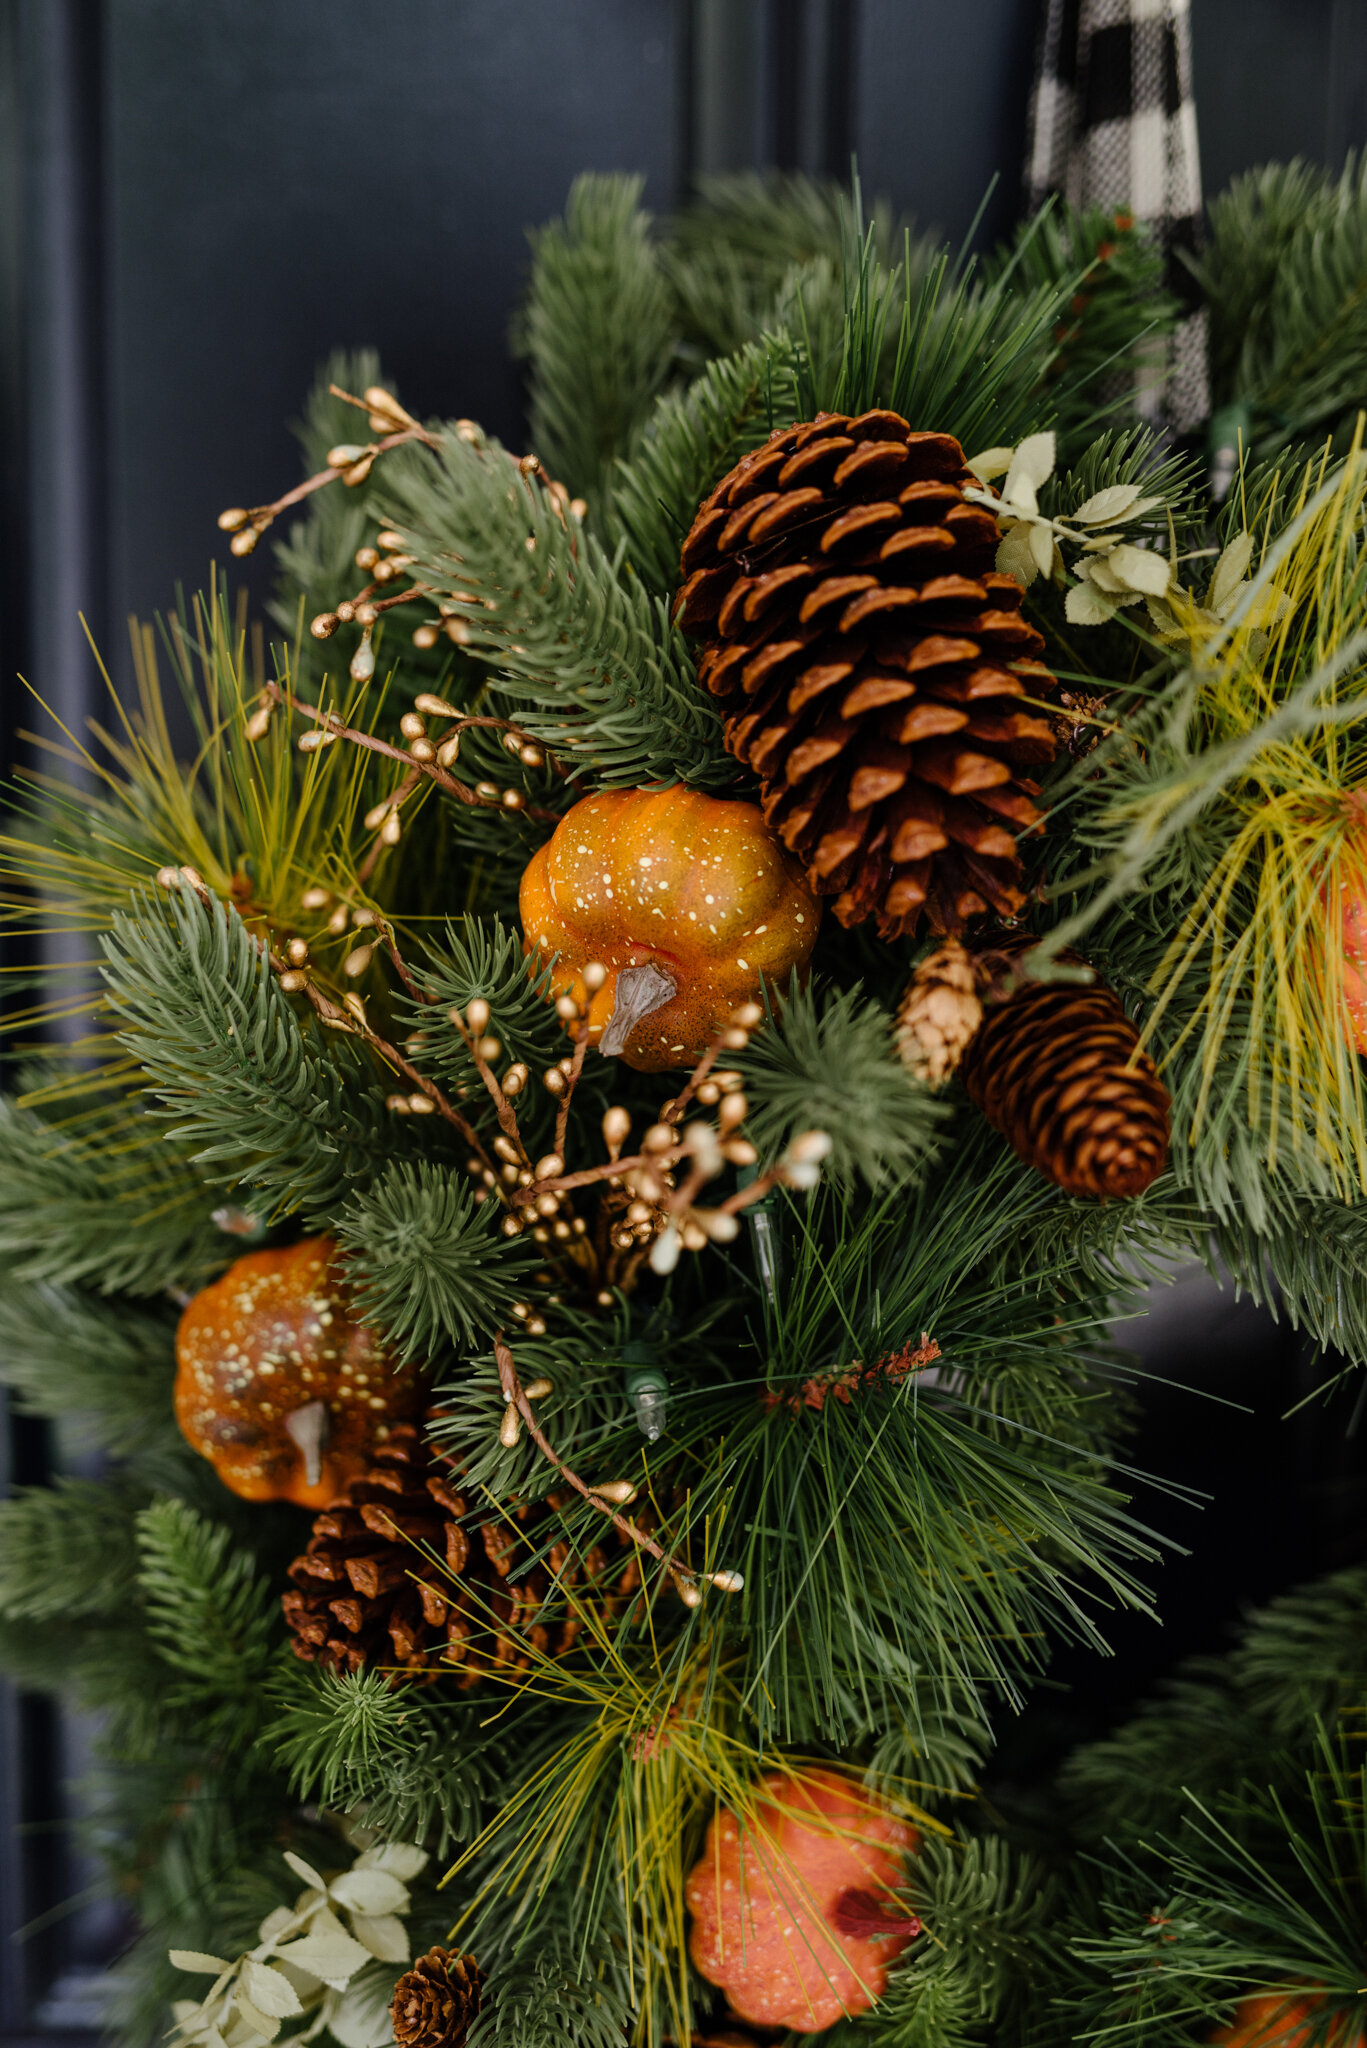
Holiday greens, sprigs of berry, and a touch of copper add holiday cheer to Jess’s entry.

Based on Jess’s living room decor and her inspiration photos, I pulled in some soft silver, gold, and just a touch of red to add a spark of color.
While Christmas is so much more than decorations or a tree—somehow the beauty of lit greens, our favorite cherished stockings and ornaments, music playing, a fire crackling, cooking & baking, giving in abundance, and ultimately gathering with those we love, all blended together in December creates beautiful memories. A big thank you to Jess for allowing us to trim her lovely home, and to Tree Classics for sponsoring this post. And definitely check out these fellow bloggers who are sharing their family holiday traditions and decor throughout the week!

Excited to share holiday decor & traditions with these fellow bloggers! Sharon of Sweet Honey Cottage @sweethoneycottage; Kaitlyn of Fresh and Vintage Living @freshandvintageliving; Romelia of Life Through Mama Eyes, @lifethroughmamaeyes, Caitlyn of Caitlyn Neier, @caitlynneier